
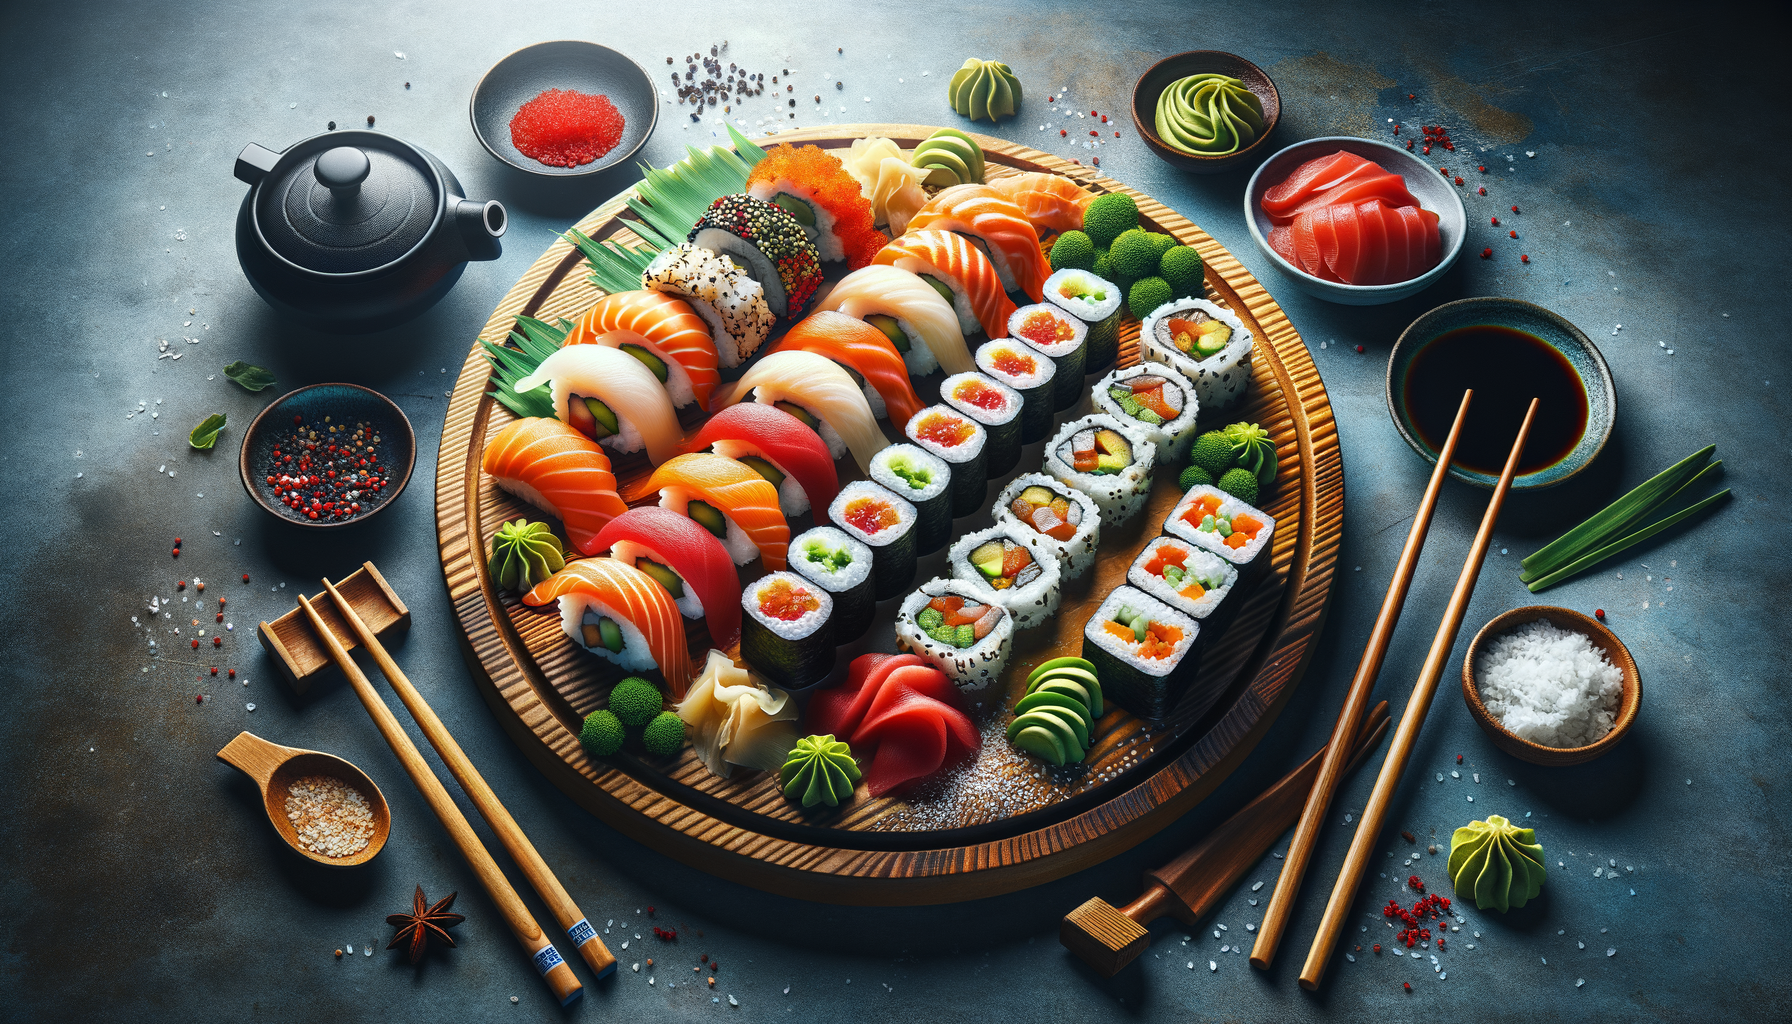
Instant Pot Japanese Sushi at Home: Foolproof Rice and Rolls for Beginners
Craving Japanese sushi at home? Learn how the Instant Pot makes silky, glossy sushi rice more consistent, then turn it into beautiful maki, nigiri, and hand rolls. Get cultural context, pro tips, and pairing ideas—plus a full step-by-step recipe with ingredients in the card below.
Bring Japanese Sushi Home—Powered by the Instant Pot
There’s nothing quite like the first bite of fresh sushi: delicate rice that’s tender yet distinct, a whisper of rice vinegar sweetness, and clean, bright fillings. At its heart, sushi is about the rice—shari—and when your rice is right, the rest follows effortlessly. If you’ve ever struggled with stovetop rice consistency or felt intimidated by the ritual of seasoning and cooling, the Instant Pot can be your quiet sous-chef. It delivers steady, repeatable results so you can focus on flavor and form. In this guide for Tagine Time, we’ll walk through the culture, science, and strategy behind making Japanese sushi at home—using your Instant Pot to nail that glossy, perfectly seasoned rice.

What Sushi Really Is (And Isn’t)
In Japan, sushi doesn’t equal raw fish. Sushi means seasoned rice that’s paired with many possible toppings and fillings—some raw, some cooked, many vegetarian. The rice is gently flavored with rice vinegar, sugar, and salt so its grains glisten and separate cleanly. From there you can go classic (nigiri draped with salmon), playful (uramaki rolls with avocado and crab), or traditional regional styles (pressed oshizushi from Osaka). The rice is the constant—and the Instant Pot happens to be great at making it consistent.
Why the Instant Pot Shines for Sushi Rice
Short-grain Japanese rice is naturally high in amylopectin, which gives it the slight stick and sheen you want. The catch? It’s sensitive to water levels, soaking time, and heat. The Instant Pot standardizes two big variables—heat and steam pressure—so when you rinse and soak properly, you get repeatable texture with minimal fuss. You’re free to focus on seasoning the rice while it’s hot, cooling with speed and care, and building rolls that look (and taste) like you ordered them at a counter in Tsukiji.

Why You’ll Love This Method
- Consistency: Pressure cooking reduces hot spots and delivers evenly cooked grains.
- Hands-off: No babysitting a simmering pot—focus on prep and plating.
- Beginner-friendly: A forgiving pathway into the world of sushi that rewards good habits.
- Flexible: Works for maki, uramaki, nigiri, and chirashi bowls.
- Weeknight-friendly: Quick enough to pull off after work, impressive enough for guests.
Ingredients and Tools, At a Glance
We’ll go deeper in the recipe card below, but here’s the bird’s-eye view so you can plan:
- Short-grain Japanese rice: Look for labels like “sushi rice” or specific varieties such as Koshihikari. Rinse until the water runs mostly clear to remove surface starch that muddies flavor and texture.
- Rice vinegar, sugar, salt: The classic trio for sushi seasoning, combined into sushizu (sushi vinegar). It transforms cooked rice into shari.
- Kombu (optional): A square of kelp adds subtle oceanic umami to the pot or to the seasoning.
- Nori sheets: For maki and uramaki. Crisp, shiny, and dry (store tightly sealed).
- Fillings: Cucumber, avocado, cooked shrimp, imitation crab, smoked salmon, or raw fish intended for raw consumption from a trusted source. Vegetarian options are abundant.
- Tools: Instant Pot (6-quart is common), a rice paddle (shamoji), a wide bowl or hangiri for cooling, and a bamboo rolling mat.
The Sushi Rice Method in Broad Strokes
This isn’t the full recipe—just the logic behind it so you know what to expect. You’ll find exact amounts, times, and temperatures in the recipe card below.
Step 1: Rinse and Soak
Rinsing gently but thoroughly is non-negotiable. It removes excess starch and readies the grains for even hydration. A short soak helps the center of each grain hydrate so it cooks up tender with just a hint of cling. Drain well so you don’t unintentionally add extra water to the pot.

Step 2: Pressure Cook
Add the drained rice and the correct amount of water to the Instant Pot. A small piece of kombu can infuse subtle depth. Pressure cook briefly, then allow a short natural release. This keeps the grains plump instead of squashed, and the residual steam finishes the cook without scorching.
Step 3: Season While Hot
Turn the rice into a wide bowl or traditional hangiri. Sprinkle the warm sushi vinegar evenly and “cut” it in with a paddle—no mashing—using swift, shallow strokes that separate the grains. Fan as you mix to drive off excess moisture. You’re looking for glossy, slightly sticky rice that still shows distinct grains.
Step 4: Prep Fillings
While the rice cools to just above body temperature, prepare your fillings in uniform batons or tidy flakes. For beginners, cooked fillings (shrimp, crab, tempura bits) or smoked salmon provide confidence and great flavor. If you choose raw fish, purchase it from a reputable fishmonger specifically for raw consumption and keep it cold.

Step 5: Roll, Slice, and Serve
For maki, spread a thin, even layer of rice on nori, add a line of filling, and roll with even pressure. For inside-out rolls, flip the sheet so rice faces the mat and use a piece of plastic wrap to keep things neat. Rest seam-side down to seal, then slice with a damp, sharp knife. Serve with a light dip of soy sauce, a breath of wasabi, and pickled ginger between bites.
Pro Tips for Better Texture, Shape, and Shine
- Nail the rinse: Swirl gently. When the water changes from milky to mostly clear, you’re there. This preserves a clean, sweet rice flavor.
- Soak, then drain well: Soaked grains cook evenly; lingering rinse water throws off the ratio.
- Season evenly: Drizzle the vinegar mixture across the rice—not in one spot—to avoid gummy patches.
- Cut, don’t stir: Use slicing motions with the paddle to keep grains intact and glossy.
- Cool quickly: Fanning while tossing helps the rice set up with a beautiful sheen.
- Mind the warmth: Rice should be just warm when you start rolling; too hot wilts nori, too cold won’t stick.
- Light pressure: Compress just enough to form tidy rolls; overpacking makes dense, chewy sushi.
- Sharp, wet knife: Clean the blade between cuts to keep slices pristine.
- Keep it safe: If using raw seafood, buy it for raw consumption and keep it refrigerated until service. When in doubt, choose cooked or vegetarian fillings.
Flavor Ideas You’ll Make on Repeat
- California roll: Imitation crab, avocado, cucumber, toasted sesame seeds.
- Spicy tuna (or salmon): Finely chopped fish with a touch of mayo and chili sauce.
- Tempura crunch: Quick-fried panko bits add texture to cooked shrimp or veggie rolls.
- Veggie rainbow: Avocado, cucumber, carrot, pickled radish, and a sprinkle of furikake.
- Smoked salmon + avocado: A crowd-pleasing path to “sushi” flavor without raw fish.
- Nigiri night: Shape small ovals of rice and top with salmon, shrimp, or tamago (sweet omelet).
- Chirashi bowl: Skip the rolling—serve seasoned rice in a bowl crowned with your favorite toppings.
Cultural Context: Edo Tradition, Home Comfort
Modern sushi traces back to Edo (old Tokyo), where edomae sushi highlighted fish from local waters and vinegared rice that kept well in a pre-refrigeration world. Today’s sushi bars blend seasonal precision with playful invention. Home cooks in Japan commonly make temaki (hand rolls) or chirashizushi (scattered sushi) for gatherings—festive, customizable, and forgiving. Using an Instant Pot at home is simply a practical way to respect sushi’s core—the rice—while adapting to a modern kitchen rhythm.
Troubleshooting Guide
- Rice too wet or mushy? You may have skipped a thorough drain after rinsing, or used a heavy hand with seasoning. Mix in a bit more unseasoned rice if available, or allow additional cooling time to firm up.
- Rice too dry or crumbly? Insufficient soaking or cooling too aggressively can be the culprit. Next time, extend the soak and avoid over-fanning.
- Rolls won’t seal? Leave a small border of bare nori at the top and moisten lightly, or rest the roll seam-side down for a minute to set.
- Nori turns chewy fast: Humidity is its enemy. Store tightly sealed, and assemble just before serving.
- Fish handling worries: Opt for smoked fish, cooked shellfish, or purely vegetarian combos until you’re confident sourcing and handling raw seafood.
Make-Ahead, Storage, and Serving
- Rice: Sushi rice is best within a couple of hours at cool room temp. Avoid refrigerating the rice itself, which firms and dulls the flavor. If you must hold it, keep it covered with a damp towel.
- Fillings: Prep vegetables and cooked proteins ahead and refrigerate. Pat dry before rolling so excess moisture doesn’t seep into the rice.
- Leftovers: Rolls with raw fish should be enjoyed promptly. Cooked or vegetarian rolls can be refrigerated and enjoyed within a day, though nori loses snap.
- Serving: Offer light soy sauce, wasabi, and pickled ginger. Green tea or crisp lagers pair beautifully.
Why This Belongs in Your Weeknight Rotation
With the Instant Pot quietly standardizing your rice, sushi night becomes a fun, creative ritual. The method scales up for gatherings, encourages family-style assembly, and teaches precision through repetition. Before long you’ll have a mental map of textures and flavors that feels less like a recipe and more like a skill—one that can anchor casual dinners or special celebrations alike.
Ready to Cook
Below, you’ll find a complete, step-by-step recipe with precise measurements for the rice, sushi vinegar, and several roll options—crafted for the Instant Pot and honed for reliability. Once you master the base, the variations are endless.
Pro Tips
Rinse the rice until the water runs mostly clear to avoid gumminess.
Soak briefly after rinsing so the center hydrates and cooks evenly.
Drain thoroughly before cooking to keep the water ratio accurate.
Season the rice while it’s hot; cool quickly while gently fanning for gloss.
Use slicing motions with the paddle to avoid mashing the grains.
Keep rice just warm when rolling; too hot wilts nori, too cold won’t stick.
Dip fingertips in water to keep rice from sticking during spreading.
Wrap your rolling mat in plastic when making inside-out rolls.
Slice rolls with a very sharp, damp knife and wipe between cuts.
Choose cooked or smoked seafood or vegetarian fillings if you’re unsure about sourcing raw fish.
Store nori in an airtight bag; humidity turns it leathery fast.
For cleaner flavors, use unseasoned rice vinegar and control sugar/salt yourself.
This nourishing instant pot japanese sushi at home: foolproof rice and rolls for beginners recipe is sure to be a staple in your kitchen. Enjoy every moist, high protein slice — it is perfect for breakfast or as a wholesome snack any time.
Tags
Instant Pot Japanese Sushi at Home: Foolproof Rice and Rolls for Beginners
This Instant Pot Japanese Sushi at Home: Foolproof Rice and Rolls for Beginners recipe makes perfectly juicy, tender, and flavorful steak every time! Serve with potatoes and a side salad for an unforgettable dinner in under 30 minutes.
Last Step: Please leave a rating and comment letting us know how you liked this recipe! This helps our business to thrive and continue providing free, high-quality recipes for you.
Did You Make This?
Leave a comment & rating below or tag
@kitchenfunwithmy3sons on social media!
Categories:
You might also like...
Instant Pot Japanese Sushi at Home: Foolproof Rice and Rolls for Beginners
Craving Japanese sushi at home? Learn how the Instant Pot makes silky, glossy sushi rice more consistent, then turn it into beautiful maki, nigiri, and hand rolls. Get cultural context, pro tips, and pairing ideas—plus a full step-by-step recipe with ingredients in the card below.
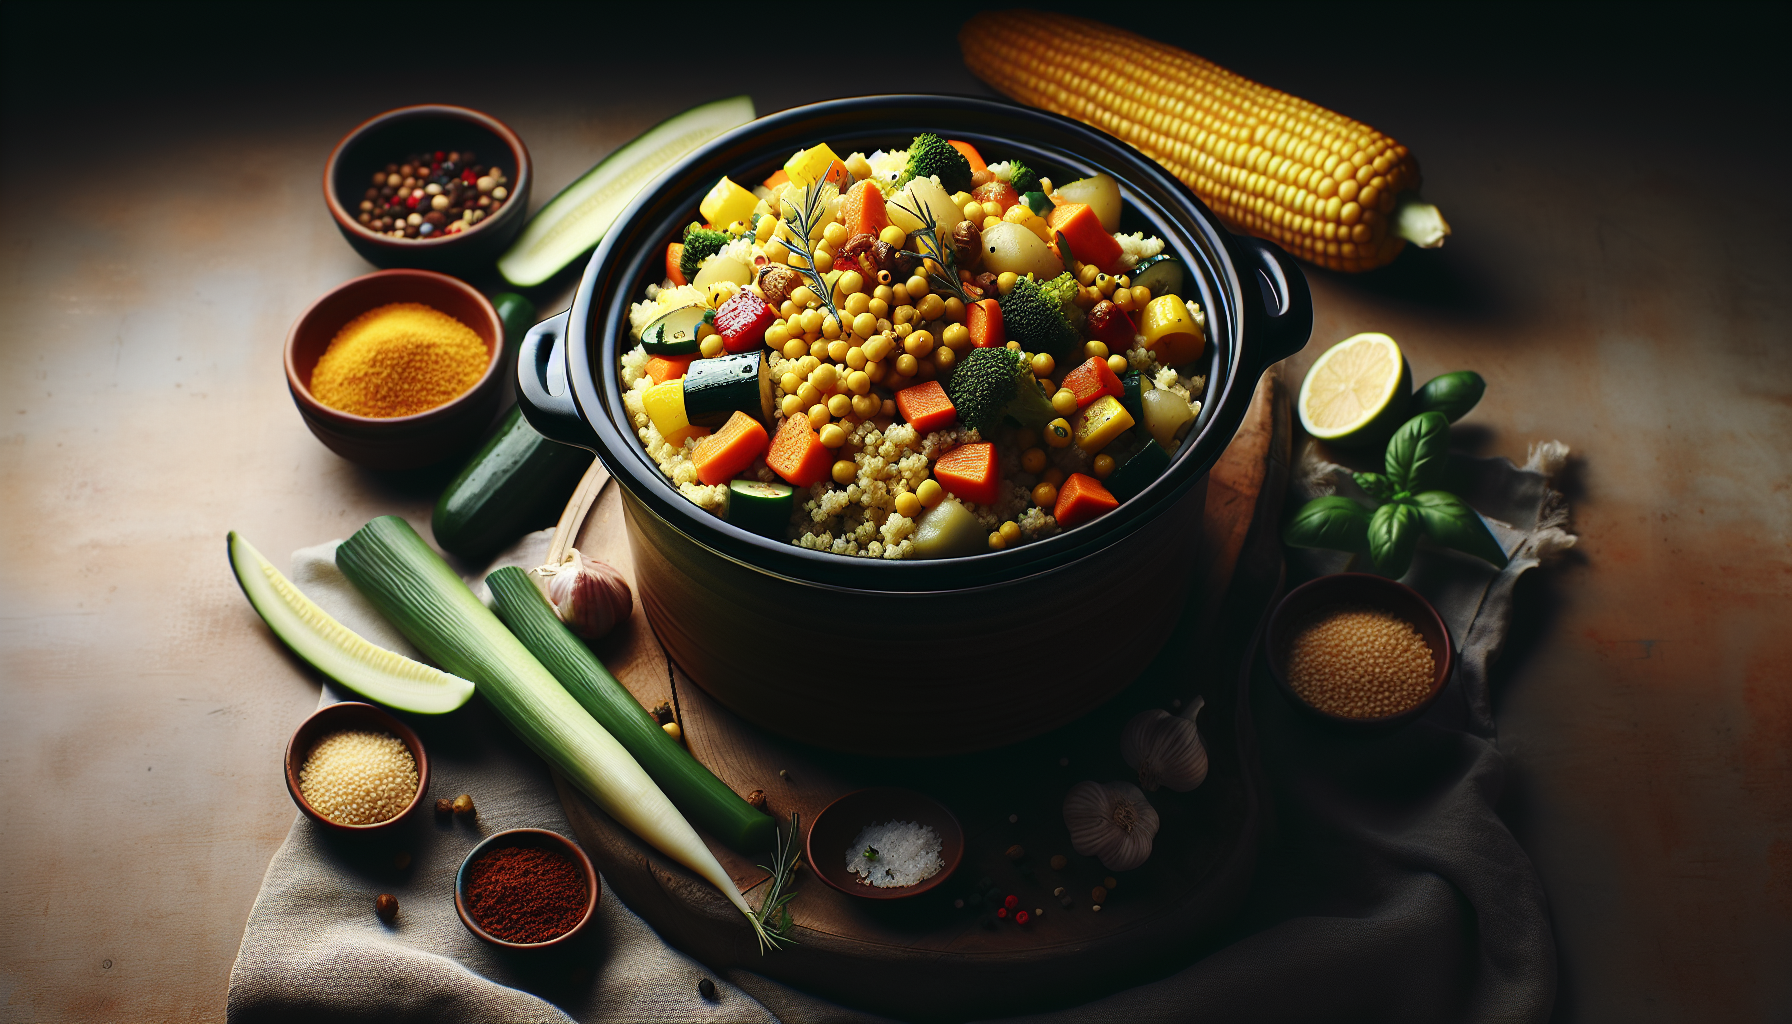
Moroccan Couscous in the Slow Cooker: Fluffy, Fragrant Grains with Tender Vegetables
Bring the soul of a Moroccan market to your kitchen with slow-cooker ease. This richly spiced vegetable-and-chickpea couscous delivers tender, saucy goodness over impossibly fluffy grains—no couscoussier required. Learn the cultural roots, smart techniques, and chef-tested tips that make this a crowd-pleasing, weeknight-friendly feast.

Classic Italian Meatball Subs
Toasty rolls piled with tender meatballs, rich marinara, and bubbling mozzarella for a saucy, crowd-pleasing sandwich night everyone loves.
Did You Make This?
Leave a comment & rating below or tag @kitchenfunwithmysons on social media!
Rate This Recipe
Share This Recipe
Enjoyed this recipe? Share it with friends and family, and don't forget to leave a review!
Comments (1)
This recipe looks amazing! Can't wait to try it.
Comments are stored locally in your browser. Server comments are displayed alongside your local comments.

Hi, I'm Royal!
What's Popular

30-Minute Meals!
Join to receive our email series which contains a round-up of some of our quick and easy family favorite recipes.